Attic Insulation Installed by Experienced Specialists Serving the Minneapolis Metro Area

Is the attic of your home in the Minneapolis, Minnesota, area well insulated? If not, you’re likely letting money fly out of your home each month. Indeed, maintaining proper levels of attic insulation is critical to keeping monthly heating and cooling costs under control. At Affordable Insulation, we understand how important adequate attic insulation is, and we’re proud to provide local homeowners with custom solutions that provide immediately noticeable energy-saving benefits.
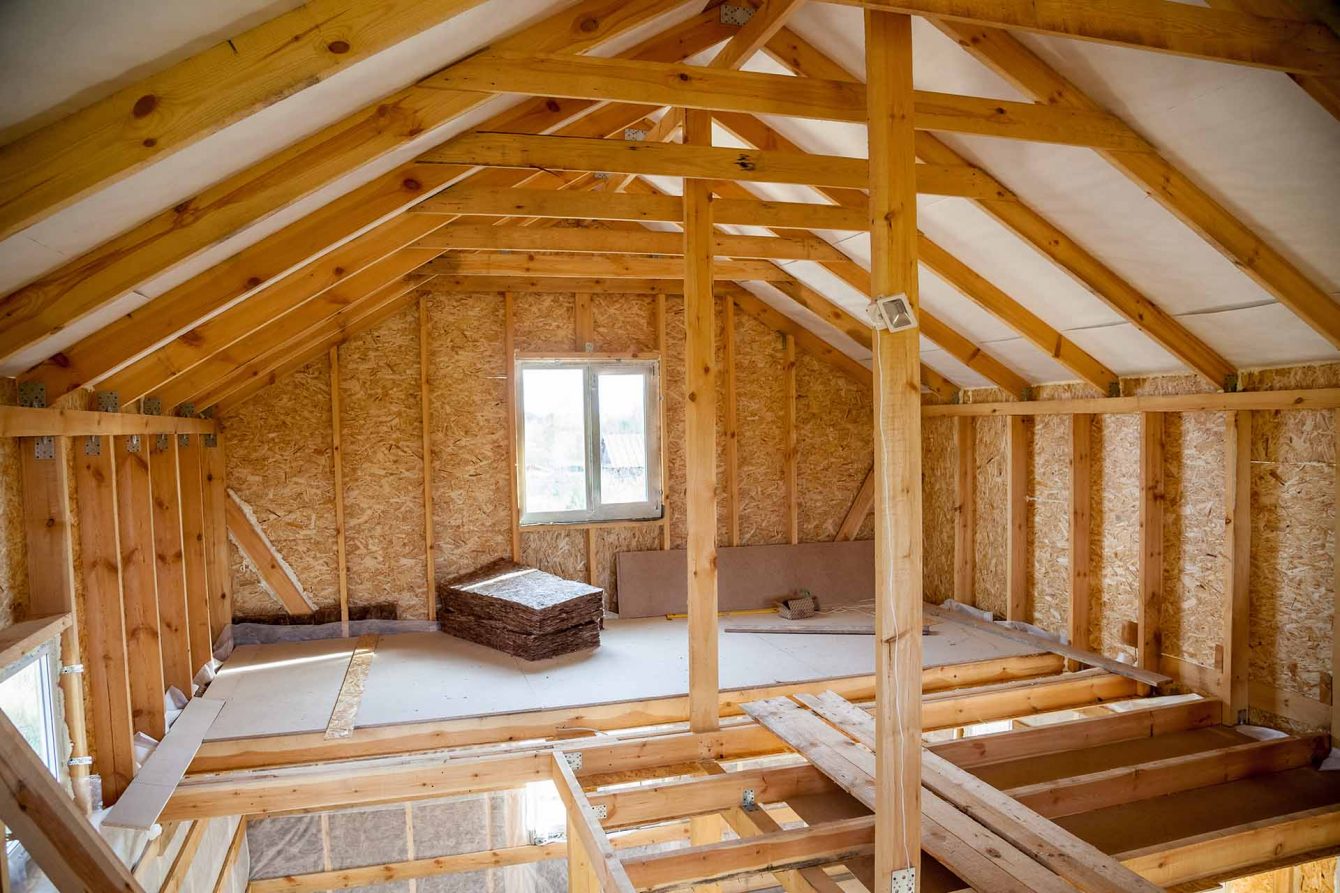
The Importance of Attic Insulation
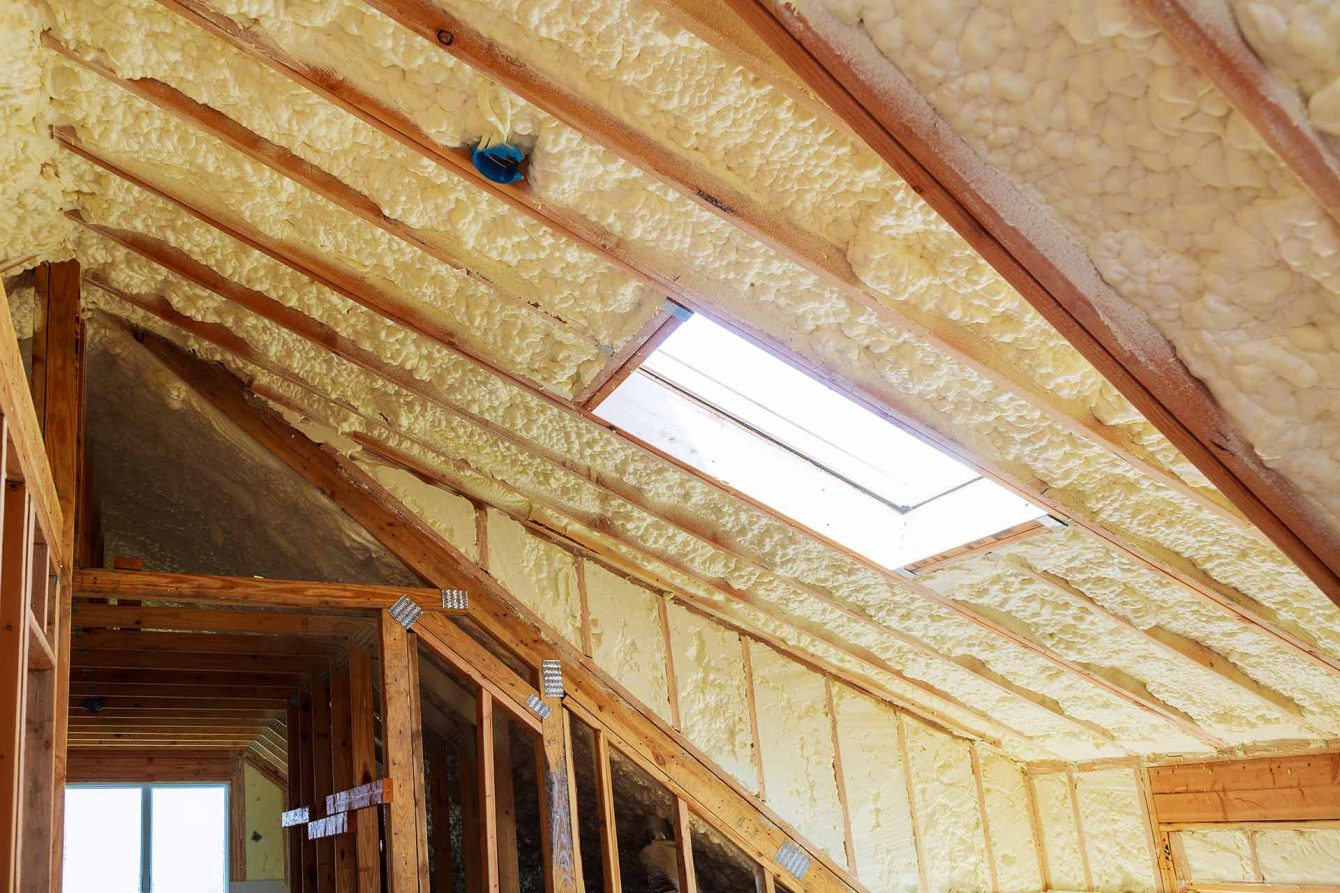
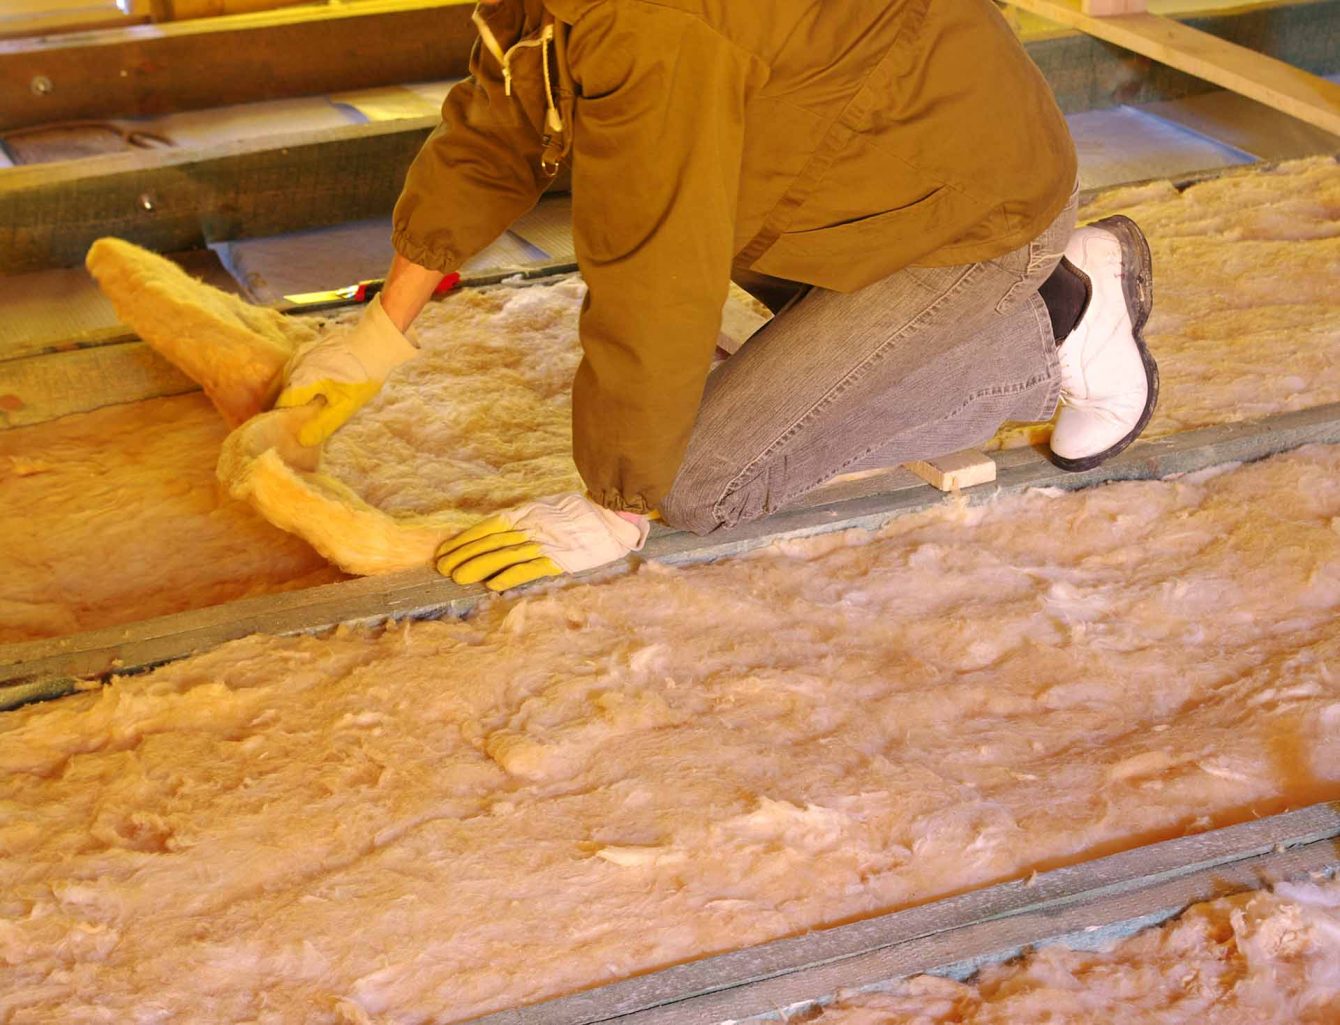
Heat rises. During frigid Minneapolis winters, attic insulation helps trap warm air inside the home, so your heating system doesn’t need to cycle constantly to maintain your desired temperature. High-quality, professionally installed insulation will help keep your home at a comfortable temperature while reducing your monthly energy costs; however, that’s only one of the benefits you should expect.
For example, inadequately insulated attics allow the roof to heat up, causing ice and snow to melt and refreeze on the eves, resulting in destructive ice dams. Attic insulation prevents this common issue, saving homeowners money and hassle. What’s more, proper insulation levels can reduce noise infiltration from the outdoors, improve indoor air quality, and even deter pests.
Why Choose Affordable Insulation?
Many companies offer attic insulation as an add-on service and may complete only a few projects each year. Affordable Insulation, on the other hand, specializes in providing high-performance insulation, and has served countless local homeowners in the Twin Cities. Consider that we are:
- Full licensed and insured
- Professional and timely
- A Preferred Contractor of Xcel Energy, CenterPoint Energy, Minnesota Energy Resources, and Owens Corning
- Building Performance Institute (BPI) Certified
When you contact Affordable Insulation, we’ll begin your project by providing a free energy efficiency inspection by a BPI-certified professional. We’ll identify areas of your home that can benefit from additional insulation as well as any additional services, such as attic ventilation and sealing, that are necessary.
If you decide to use our services, you can rest assured we’ll provide an industry-leading value. We utilize only the best-performing insulation from trusted brands, such as Owens Corning and Johns Manville, and all installations are completed by trained experts. You can have complete peace of mind that you’ve made a sound investment, as we provide a lifetime craftsmanship warranty.
Find Local Attic Insulation Contractors Near You
Attic Insulation Contractors in Apple Valley, MN | Attic Insulation Contractors in Bloomington, MN | Attic Insulation Contractors in Burnsville, MN | Attic Insulation Contractors in Chanhassen, MN | Attic Insulation Contractors in Eagan, MN | Attic Insulation Contractors in Minnetonka, MN | Attic Insulation Contractors in Eden Prairie, MN | Attic Insulation Contractors in Edina, MN | Attic Insulation Contractors in Richfield, MN | Attic Insulation Contractors in Roseville, MN | Attic Insulation Contractors in St. Louis Park, MN | Attic Insulation Contractors in St. Paul. MN
Schedule Your Free Inspection
Contact Affordable Insulation today to learn more about how we can improve your home’s energy efficiency with new attic insulation and to schedule a free inspection at your home in the Minneapolis, MN, area.